Happy 2018


Hello My Fellow Crafters,

Happy New Year.  I hope you had a wonderful Holiday😊

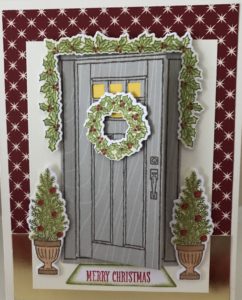
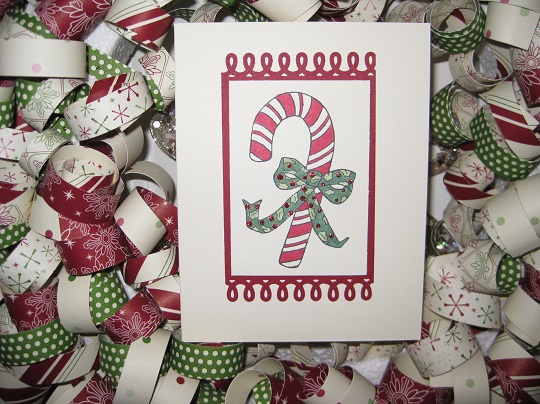
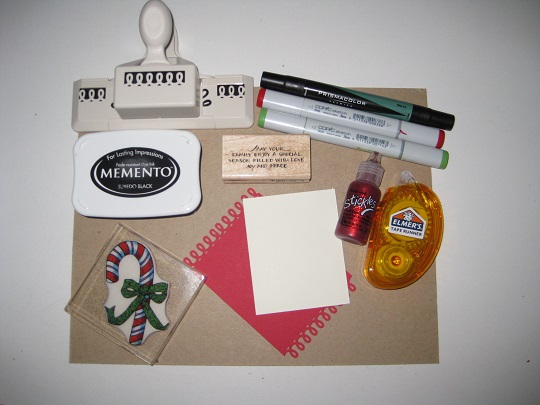
This was our Christmas card this year.  I had so much fun making this card.  Having stamps with coordinating dies make the card making process super fun and easy.

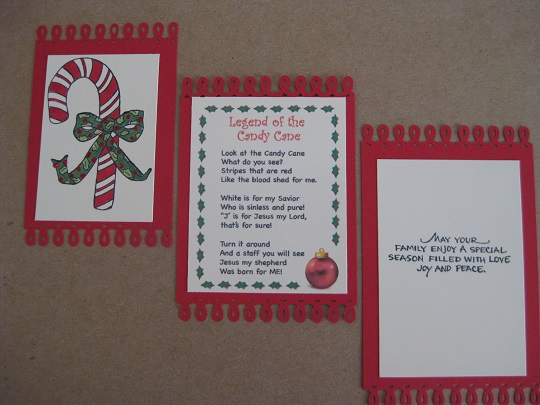
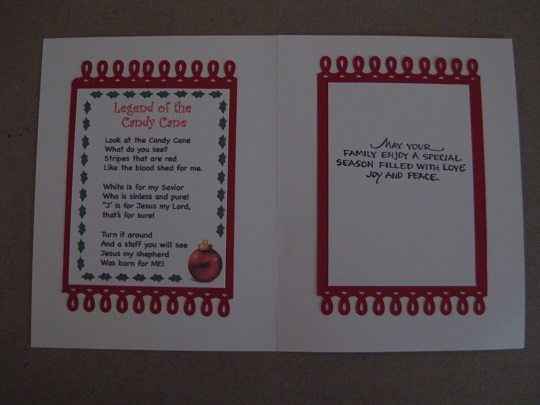
The funny thing with this card is that the door opens and closes.  Inside the door is a message.  I guess when it goes through the mail the door can press down so good that if you don’t know it opens you would think it’s a normal flat card.  The way I found that out was my sister in law thought I sent a different card to my mother in law since her door was open and hers was closed shut LOL

So with that being said for all my family and friends that received a Christmas card from us this year your door opens with a message inside😊

Make It A Great Day and Don’t Forget To Leave Time To Craft!


Creating Our 2013 Handmade Christmas Card

Hello My Fellow Crafters,

Today I want to share with you our 2013 Christmas Card.  I had so many ideas (does that surprise you – LOL) but I was really running out of time so I had to decide quick.

So with all of these supplies, I wanted a card that was not too complicated, but still looked good.  This year I think I have eaten more candy canes then ever before and not the peppermint ones either.  I bought raspberry ones that are yummy!  So it is appropriate that our card this year would be a candy cane.

2013christmascardsupplies

I stamped the image with tuxedo black memento ink, and colored with Copic sketch markers and Prismacolor markers.  Then added some Stickles onto the bow for that extra “bling”.

This is what the card started to look like.  I found the story “Legend of the Candy Cane” online and printed it out on the same vanilla cardstock that I stamped the images on.  Then using red cardstock cut 3 panels and using the Martha Stewart border punch, I punched the top and bottom.

handstampedchristmascard2013pieces

With each panel complete the final Christmas card looks pretty good.

2013frontofcard

2013insideofcard

Well now that I have them finally done, I need to get them out in the mail.  Thank goodness there are 12 days of Christmas 🙂

Make It A Great Day and Don’t Forget To Leave Time to Craft!

Joans Craft World 2009 Handmade Christmas Card

What do you get when you have a Cuttlebug, Cuttlebug Embossing Folders, Martha Stewart Paper Punch, Stickles, Ribbon, White Cardstock, Strip of colored cardstock and a rubber stamp?

2009handmadechristmascardsupplies

Our 2009 Handmade Christmas Card!

I can share our card with you because they are all out in the mail.  For my family and friends who follow JoansCraftWorld, hopefully they will have already received our Christmas card.

I have been making our Christmas Cards since for a few months now and since I make around 75-100 cards, I need to have a system.  Usually I make cards that are layered (of course, more work) but I love the way that they look.  So my card this year has 5 layers on the outside, a Christmas saying on the inside, and my holiday signature on the back.

One layer is a one inch cut piece of colored cardstock. (the Paper Studio)

One is a border punch (Martha Stewart Frosty Village Edge punch)

Two are embossed using my Cuttlebug (Swiss Dots and Snowflakes Embossing folders)

And the last one is rubber stamped with an added ribbon embellishment. (Hero Arts)

Oh I forgot to tell you that three of the layers are hand ripped or some people call it hand torn cardstock, for a really cool look.

And to finish each card I added stickles for that special “bling” (Stickles –  Star Dust & Diamonds)

2009handmadechristmascard

Wishing all of my Fellow Crafters a Very Merry Christmas and a Fantastic New Year!

Make it a Great Day and don’t forget to leave time to Craft!