I hope you are all doing well on this Festive Sunday.
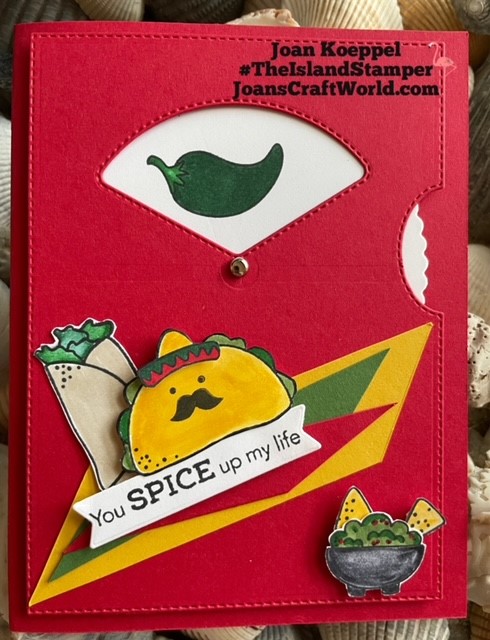
Today I want to share a card that I made as a Thank You Note for a friend who sent us some New Mexico Green Chili Seeds to plant in Florida.
I love this stamp set but unfortunately it has been retired. This set was created by one of Stampin’ Up! Million Sales Achiever Erica C. and I think it was the best stamp set ever. That could be because I love all kinds of Mexican Food and everything that goes along with it 🙂
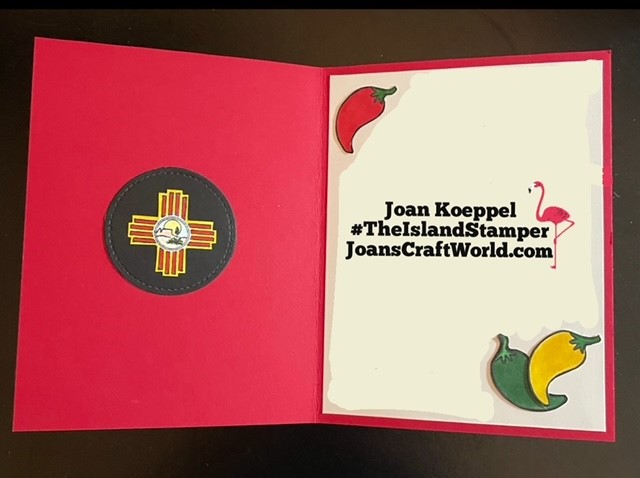
I had to white out the inside because I forgot to take the picture before I wrote my note. When I lived in New Mexico I went to a big stamp show and they had the NM Zia stamp and I thought that would make the perfect part of my inside greeting for our NM friend.
Just take a look at how good the chili seeds grew. We started them indoors in our Idoo hydroponic garden then transferred to outdoor planters.


*
Can you see those chilis? We were excited and they tasted yummy!!!
Have a Happy Cinco de Mayo
Until next time my friends,
Enjoy the Sunshine!
Joan 🙂