


Hello My Fellow Crafters,
Have you ever had so much fun making a card that you totally get lost in your own little world? Well I have and I just did 🙂
I took a piece of cardstock and stamped the same flower image in it until it filled up the page. then just started coloring with every Copic marker that I have. When I was done I punched each one out with the paper punch.

So now I had this pile of flowers and needed to create some kind of card so put these beautiful flowers on. I remember seeing a card that was cut on an angle and then folded into thirds. I cut a piece of cardstock 12″ x 5 1/2″. Then I marked the cardstock on the right side at 2 1/2″ and from that point to the point at the top of the card at 5 1/2″ I cut the cardstock on that angle. Then scored at 4″ 8″ and folded with peaks and valley fold.
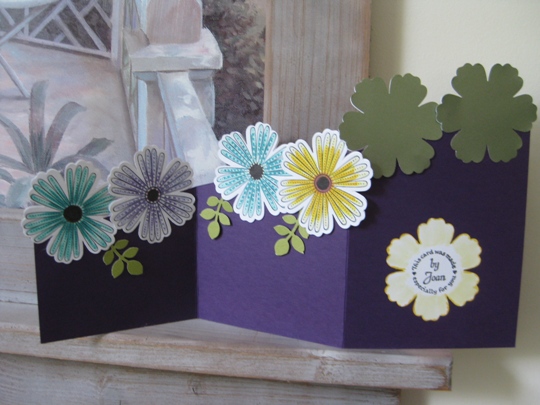
Once I put the flowers onto the card, I noticed once it was open that that backs of the flowers were just plain white cardstock and really didn’t like the way it looked. So, I colored more flowers and used adhesive to make a double sided flower. Now it looks great from all angles.
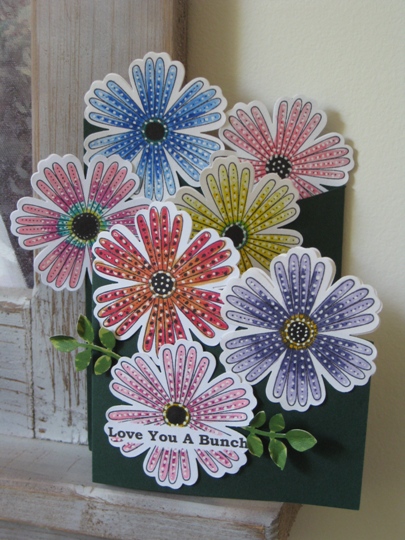

I also had a paper punch of leaves and just added some randomly around the card for the final special touch and dimension.
This was a great card to make when you just feel like coloring. You can use Copic markers like I did, or colored pencils, watercolors, anything that you like to color with will work great! Remember it’s you artwork and you can do anything that makes you happy when you create.
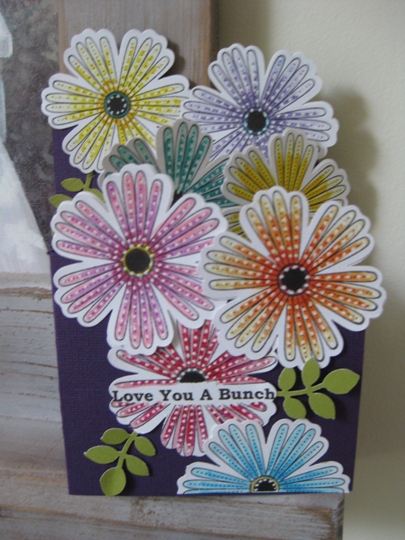
I really had fun so decided to make another card but just changed the base of the cardstock. Also I added my circle handmade stamp and made it the center of the flower.
~ Sending Happy Birthday Wishes to my niece Nicole and also to my Mother-In-Law ~


