Hello My Crafty Friends,
I have been busy working on some fun projects. Of course making handmade cards has been on the top of my list, but I have been also looking at my small kitchen table wondering how I can make it more fun. We don’t sit at this table, it is actually for my cats to look out the window 🙂 I found a piece of fabric that I think I am going to somehow make a table top not a table cloth. Anyway as soon as I figure it all out I will show you what I am talking about.
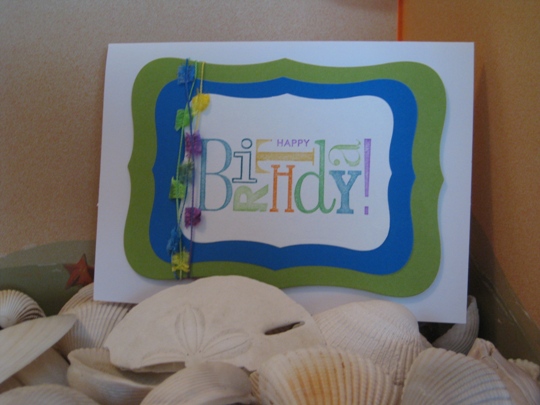
Here are some of the fun cards that I have been making ~ You can stop over at Stampin Upon The Island to find out how these cards were made.


Make it a Great Day and don’t forget to leave time to Craft!