Mixed Bunch Stamps Make Perfect Handmade Greeting Cards

Hello My Stamping Friends,

It’s summer time on the island and the beaches are getting a little more crowded, but that’s just fine with me.  It’s so much fun sitting on my beach chair and watching all the fun, laughter and smiles.  It seems like once people get to the beach all problems that you may be experiencing in your everyday life just disappear.

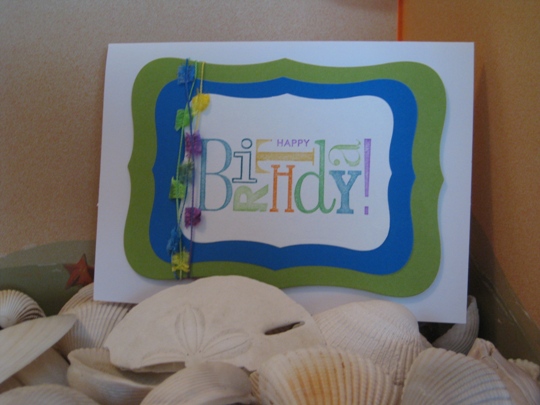
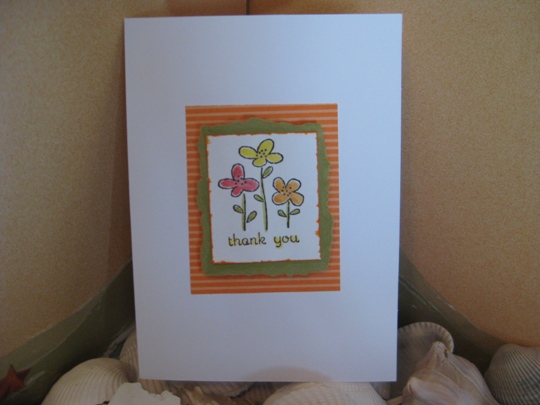
I have had so much fun making these Mixed Bunch cards.  Stacking these cards together they look  like (to me at least) a beautiful  tropical flower paradise.

Same idea different colors ~ how fun is this?  You have to try it! 🙂

What a great gift this would make.  Stamp a Mixed Bunch in all different colors, wrap them together with a ribbon, and you have the perfect handmade present for that special someone to enjoy.

Hope you enjoyed your visit to Stampin Upon The Island today!

Wishing You A Day Filled With Sunshine & Stamps

Happiest Birthday Wishes Stamp Set for a Fun Handmade Birthday Card

Hello My Stamping Friends,

Today I will be making a birthday card using the Happiest Birthday Wishes clear mount stamp set.  My goal for this card is fun, colorful, and cool.  Well it’s for my 15 year old nephew, so it has to be cool ~ LOL

I just love these clear stamp sets.  They are the best for storage (you can have soooo much more and not need alot of space)  and the clean up is even so much better then using the wood mounted stamps (well that’s my opinion) and just to let you know I have a “ton” of wood mounted stamp.

Since this stamp was just a word in different fonts I took the stamp and used markers and colored directly onto the stamp in the colors that I wanted instead of using a stamp pad.   Your clean up is a snap also when you use  the spritz cleaner and stamp scrubber, your stamps look brand new 🙂

Wishing You A Day Filled With Sunshine & Stamps

Coloring Your Handstamped Greeting Card With A Blender Pen

Hello My Stamping Friends,

Using layers for a card is so easy but makes your card look so good.  With this type of layering you don’t even have to own a paper punch, just a pair of scissors and a steady hand (that’s when it’s good to have a paper punch 🙂  if you tend to not cut a straight line).

The bottom layer was cut using a paper with a pattern.  Then I added olive cardstock.  I didn’t want a uniform edge so I tore the edges and got the perfect edge that I was looking for.

Then on white cardstock I stamped the image using classic basic black ink.

Now for the fun part.  Using the Blender Pen, I colored my flowers,  just by brushing the tip of the pen into the ink pad just enough to get the ink onto the blender pen and then brush it onto the image you want to color.  This is such a fun way to color in an image.

To get the ink off of the blender pen all you need do is on a scrap piece of paper, brush the pen back and forth a few times till the color on your paper is clear.

I was just about to put the white cardstock onto the olive and thought it looks “boring” so I brushed the edges of the paper along the ink pad for just a hint of color.  I think it added the perfect colored edge, by bringing all the colors together.

Now I think it looks great.  I used pop dots on the back of the olive cardstock to give the layers a little boost.  Try out this technique and tell me what you think.  I think you’ll love it!

Wishing You A Day Filled With Sunshine & Stamps

Page 3 of 3
1 2 3