Climbing A Fence To Say Hello

Hello My Fellow Crafters,

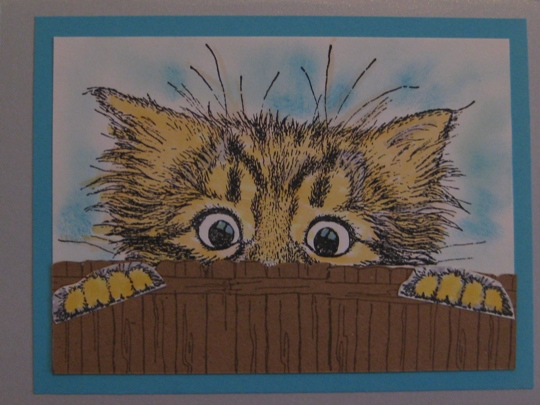
Today I want to share with you the cutest birthday card that just makes me smile, because I can see my cat looking like this if he was an outdoor cat 🙂

I was going through my stamps and came across this stamp (which was the paw) and I had no idea what it was.  So, as I continued looking the most adorable cat face rubber stamp jumped out and then I remembered this set from a rubber stamp convention that  I went to years ago.

The stamp set is from Biblical Impressions (not sure if they still make this stamp). I started with white cardstock and tuxedo black memento ink.  Then using copic markers I started coloring, and the entire time I couldn’t stop smiling at this face.  That’s why I really think that crafting is the best, because it puts you in such a happy place, watching yourself create your own original works of art.

iseeyouhandmadebirthdaycard

Then I found a stamp of a fence that is from Art Impressions.  I stamped it twice onto brown cardstock and using a scissor I cut the tops of the fence so it looked rigid and for a straight bottom I used a Fiskars paper cutter.

Once I put it all together it looked a little too white so I took a sponge dabber and using memento Bahama Blue ink I added some color for a background and decided to use the same color cardstock to mat onto a larger white card base.

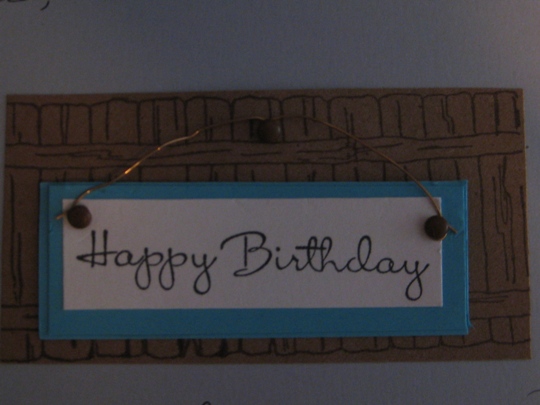
For the inside I wanted to keep the theme of the fence, so I used the same brown cardstock, fence stamp and black memento ink.  I thought it would be so fun to make a sign that could be hanging on the fence.  So,  I made a little sign with plain white cardstock, added some antique mini brads and so there were no sharp edges I layered the back onto the same colored cardstock I used on the front of the card. Then using some brass wire I made the happy birthday sign and attached it to the fence with another mini antique brad.  The part that I really like is that the sign moves from side to side since I didn’t permanently attach it to the fence. (I had to take a close up picture because I forgot to take the picture before I added all my handwritten message to the card)

iseeyouinsidehandmadebirthdaycard

I would suggest that you go thru some of your stamps and see what new/old ones you can dig up and create something fantastic.  I hope this card made you smile 🙂

~ Happy Birthday Poppa ~

Make It A Great Day and Don’t Forget To Leave Time To Craft!

Card Supplies:

A Handstamped Birthday Card With Some Fun Fiber Embellishments

Hello My Fellow Crafters,

Today I want to share with you a handstamped birthday card with some fun fiber embellishments that I made for my mother-in-law.  I wanted to make this card bright and colorful.

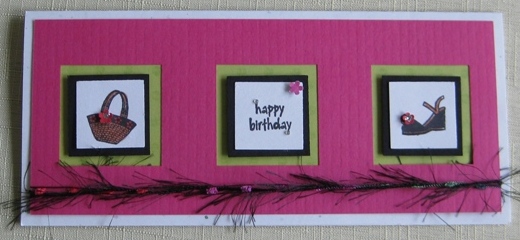
I had so many ideas for this card and instead of choosing one stamp set and theme, I put them all onto one card.  What women does does not like shoes and a matching purse 🙂

handstampedhappybirthdaycard

Using some stamp sets that I have had from Hero Arts, I stamped the sandal, woven bag and the sentiment with tuxedo black memento ink onto plain white cardstock.  Then using a square paper punch cut out each image.

Next step was to color them using a copic marker (dark suntan) and that’s it! But I just had to add some kind of embellishment.  So I  punched a tiny flower and using a styles tool just pressed down in the middle and it made a small indent in the middle of the flower and then I added a drop of silver stickles.

Since I wanted a layered look to this card I punched  a larger square from black cardstock for each image and stuck them together using my ATG gun.  Also had a scrap piece of lime green cardstock so I put that in the back of the Pink cardstock that had three squares cut out already.  (I got these card kits a few years ago from The Paper Cut company who were at a rubber stamp convention), it would have been really easy to make if I didn’t have this already cut out just by using a larger square punch. For an extra “pop” I added pop dots on the back of the black cardstock before I put onto the lime green.   Then for the finishing touch on the outside of this card I added some funky fiber that I had from EK Success that I found in my stash of ribbons, raffia, bakers twine…

insidehandstampedhappybirthdaycard

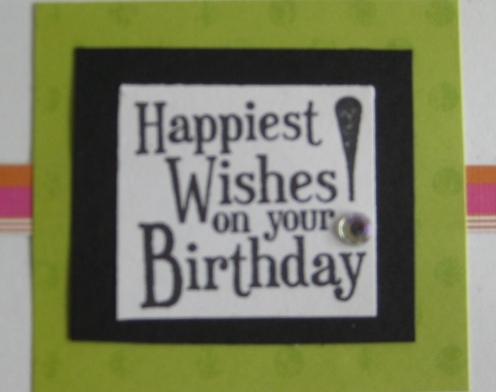
For the inside I kept the same colors and layering look, and added a strip of striped paper behind the layers.  Then added a rhinestone for that extra bling!

~ Happy Birthday Mom ~

Make It A Great Day and Don’t Forget To Leave Time To Craft!

Card Supplies:

Handstamped Birthday Card For a Cat Lover

Hello My Fellow Crafters,

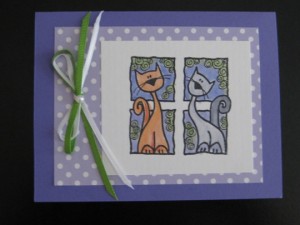
Most of you know that I have two furry children, and I am sure just like real children they can make you mad, sad but most of all happy.  Well this card just makes me happy.   I don’t know if it’s the colors that I used or just the image of these two cats but I really like how it turned out.

I stamped the image (Magenta cling stamp) with Memento black ink on white cardstock  and then colored in the image with just a few Copic markers.  I have no idea who makes the polka dot paper cause it was in my folder of scraps, and the solid lavender cardstock is from the Paper Cut.  The finishing touch was adding some ribbon and a pearl embellishment.

handstampedgreetingcardcatsinwindow

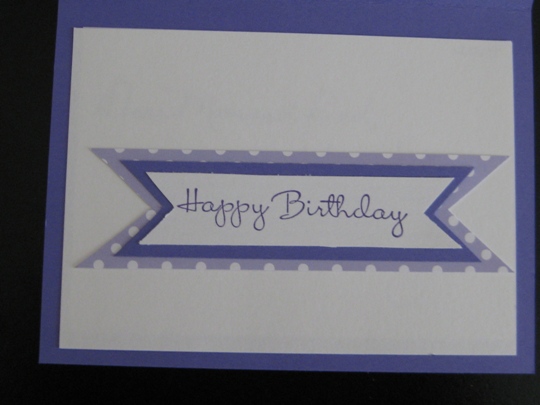
I still had some scraps left over so for the inside I stamped Happy Birthday and layered it on top of the same cardstock I used for the outside of the card.

handstampedgreetingcardsentiment

Hope you like this card. It was really fun to make, now I have to wait for someones birthday so I can send it out.  I think this is the first time I am ahead of the game in making a card 🙂

Make It A Great Day and Don’t Forget To Leave Time To Craft!


Card Supplies:

A Handstamped Happy Birthday Card Sure To Make You Smile

Hello My Fellow Crafters,

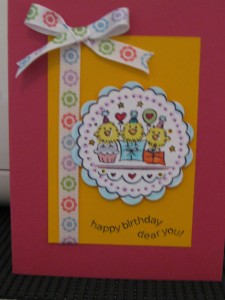
Today I want to share with you a handmade and handstamped birthday card that I made for our niece who is turning 13 this week. Looking through some of my birthday rubber stamps, this one jumped out and made me smile, so I thought it would be the perfect stamp to make her smile too 🙂

handmadebirthdaycard

Using a rubber stamp from De Nami Designs, some fun ribbon from American Craft, Copic Markers, circle and scalloped paper punches  and can’t forget some colored cardstock to put this birthday card all together.

Making handmade birthday cards are so much fun to make and I know the person who is receiving the card enjoys knowing that it was make especially for them.

~ Happy 13th Birthday Nicole ~

Make It A Great Day and Don’t Forget To Leave Time To Craft!

Card Supplies:

Hello Kitty Greetings Cricut Card Idea

Hello My Fellow Crafters,

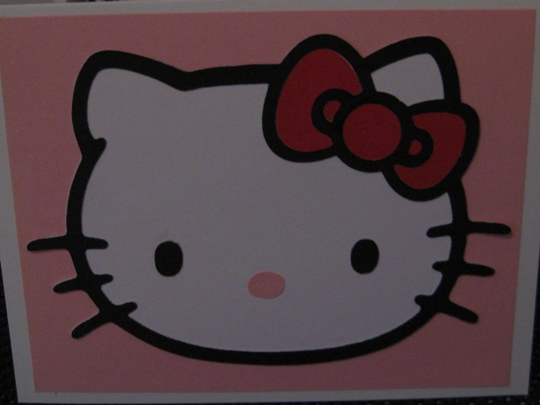
Our niece is having a birthday in a few days and loves Hello Kitty, so what a perfect cricut card idea I had using the Hello Kitty Greetings Cartridge.  I forgot how cute this cricut cartridge really is 🙂

This handmade birthday card was so much fun to make and to think that it only took a few minutes using my Cricut Expression machine and 4 pieces of (white, pink,red and black) cardstock, and some adhesive.  Look how great it looks.

cricutcardideahellokitty

For the inside of the card I cut the happy birthday saying that was on the cartridge on pink cardstock and using a Zig 2 way glue just applied each letter onto the white card along with a small red flower that was also on the cartridge.

cricutcardidea

~Happy Birthday Riley ~

Make It A Great Day and Don’t Forget To Leave Time To Craft!

Card Supplies:


Page 26 of 53
1 24 25 26 27 28 53