The Cricut Rewards Program Works – Here’s Proof!

I am so excited and want to share my excitement with you.

Christmas came early at my house.

Guess what just arrived from FedEx?

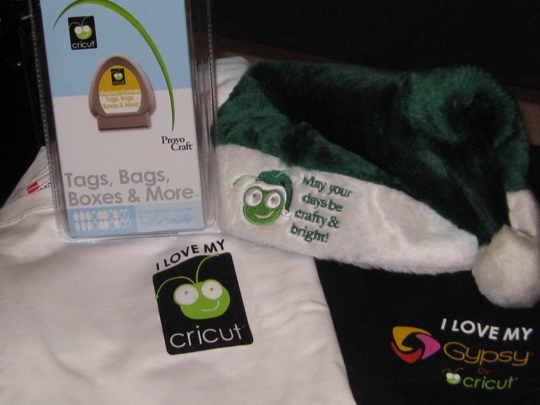
My Cricut rewards order!

YIPPEE!!!

rewardspackagearrived

I really wanted this Tags, bags, Boxes & More Cricut cartridge and when I found it on Cricut Rewards it was a no brainier, especially since now they are allowing us to use reward points for shipping also.  And if you are a shopper like me, you just had to add some more cute items to your purchase.  So I got some t-shirts and since it is Christmas, I needed this Cricut Santa hat too!  Oh did I forget to tell you how much this all cost me?  Zero, Nada, Nothing.  I just cashed in my Cricut reward points.  How great is this!

So for all of my fellow crafters out there who have some Cricut reward points adding up, or if you don’t know about this great program, go to www.cricutrewards.com and sign up now and start shopping!

And then I would like to hear from you.  Just leave a comment here on my blog when you cash in your Cricut Reward Points and share your excitement like I did.

Make it a Great Day and don’t forget to leave time to Craft!

A Helpful Tip to my Fellow Crafters about Handmade Address Labels for Christmas Cards

I did something yesterday that helped me out of a pinch.  I was writing out our Christmas cards and found out that I had no return address labels (or should I say ones that I would want to put on my really pretty cards), so I made my own.

I used plain white printer/copy paper. Then using my computer, Microsoft Word, along with the envelopes and labels feature I typed our return address.

Then I found a cute picture on clip art of a Christmas tree and added that to my labels.

They printed out on the piece of paper just as they would if I used a sheet of plain white labels (that I did not have)

Now here comes “let’s use stuff in your craft studio that you haven’t used in awhile.”

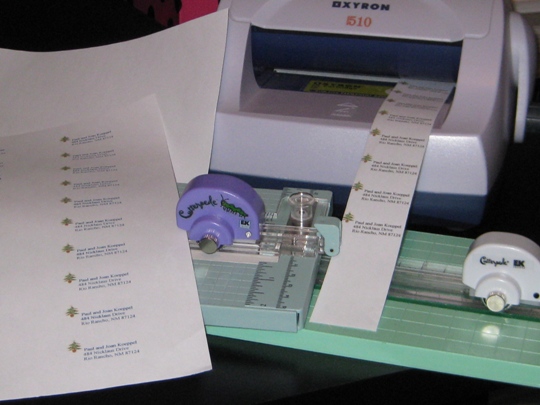
I trimmed each row of addresses so that there was no excess paper on either side. (Using my EK Success Cutterpede paper cutter)

Then I ran them through my XYRON 510 sticker maker using the permanent adhesive cartridge.

After taking off the top layer (clear plastic) I used my Mini Cutterpede (I could have used the big one but I have a mini and it was just was just easier) but this time using the perforation blade (I think this is the first time I every used this blade).  So that I would be able to just take one label at a time.

It worked great – looks great and the best part it was easy.

tipofthedayreturnaddresslabels

Make it a Great Day and don’t forget to leave time to Craft!

Page 2 of 2
1 2